
Key Takeaways: Victorian pine restoration requires a strategic grit sequence (starting at 40-grit Zirconia), specialist gap filling with resin-dust mix, and high-performance seals like Bona Traffic HD to handle the high-traffic urban lifestyle in Catford.
The Problem: Centuries of Wear on Catford’s Heritage Timber
Many Victorian townhouses across Catford and the wider SE6 area hide a treasure beneath decades of linoleum and synthetic carpets: original pine floorboards. However, these boards are often in a sorry state. They suffer from cupping, deep historical staining, and the inevitable gapping caused by centuries of seasonal movement in the London clay. For a homeowner, looking at blackened, splintered timber can be disheartening, suggesting that the only solution is to cover them up once more.
The Agitation: Why a Quick DIY Sanding Often Fails Period Floors
The temptation to hire a basic sander from a local tool hire shop is high, but Victorian pine is unforgiving. Unlike modern hardwoods, antique pine is relatively soft and prone to deep gouging if the machine isn’t handled with tradesmen precision. Standard abrasives often clog instantly with old bitumen or tannin pull from historical stains, leading to uneven results. Furthermore, failing to address the moisture content and the grain raising during the process will leave you with a floor that feels like sandpaper underfoot, despite your best efforts. Without the right dust-extraction equipment, your heritage restoration project will also coat every surface of your home in a fine, persistent silt.
The Solution: A Professional 4-Stage Restoration Process
At Catford Floor Sanding, we employ a rigorous technical approach to professional wood floor sanding that respects the age of the timber while providing a modern, durable finish.
1. The Grit Sequence: Starting with 40-Grit Zirconia
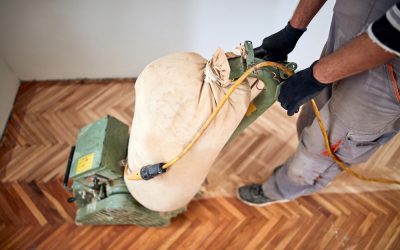
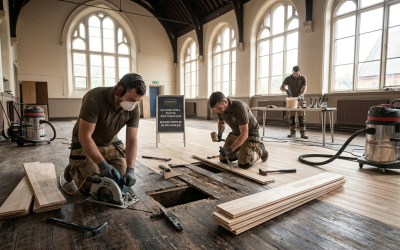
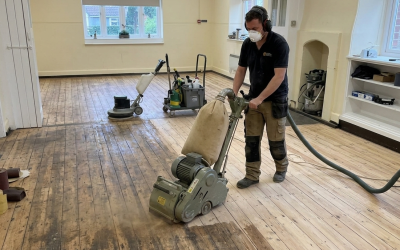
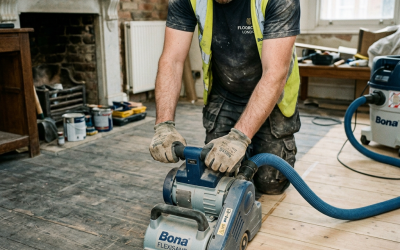
For uneven Victorian pine, we rarely start with fine papers. We begin with 40-grit Zirconia abrasives on a Lagler Hummel belt sander. This aggressive start is necessary to flatten cupped boards and strip back the grey oxidised layer. Pro-Tip: If the boards have heavy bitumen edges, we may even drop to a 24-grit to ensure a clean slate without burning the timber.
2. Specialist Gap Filling
Once the floor is level, we address the gaps. We don’t use off-the-shelf fillers. Instead, we mix the fine dust from the 80-grit sanding stage with a professional resin. This creates a paste that perfectly matches the timber tone of your specific floorboards, ensuring a seamless heritage look. You can see examples of this in our project gallery.
3. Water Popping and Grain Raising
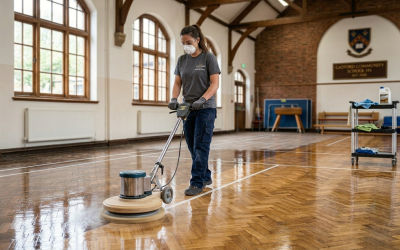
To ensure a deep, even finish, we often use a technique called water popping. By lightly misting the floor, we open the grain cells. This prevents tannin pull and ensures the sealant penetrates deeply. We then denib the floor with a 120-grit screen on a Bona Flexisand to remove any grain raising before the final coats.
4. Sealing for London Life: Bona Traffic HD
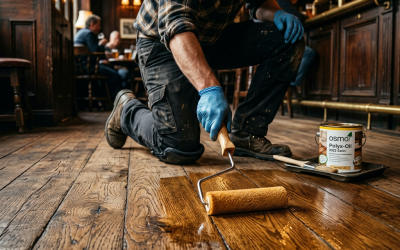
In the unique urban light of a London townhouse, we recommend using Bona Traffic HD. This water-based lacquer offers incredible durability without the yellowing associated with old-fashioned polyurethanes. For a three-coat system, we allow 2-3 hours between coats. Note that in the typical South East London humidity, full curing takes approximately 72 hours—VAT is always included in our detailed floor sanding prices for full transparency.
If you found this guide helpful, you might also be interested in our article on eco-friendly wood floor sanding or how we handle commercial pub refurbishments in the area. To get started on your own project, feel free to contact us for a free consultation.